
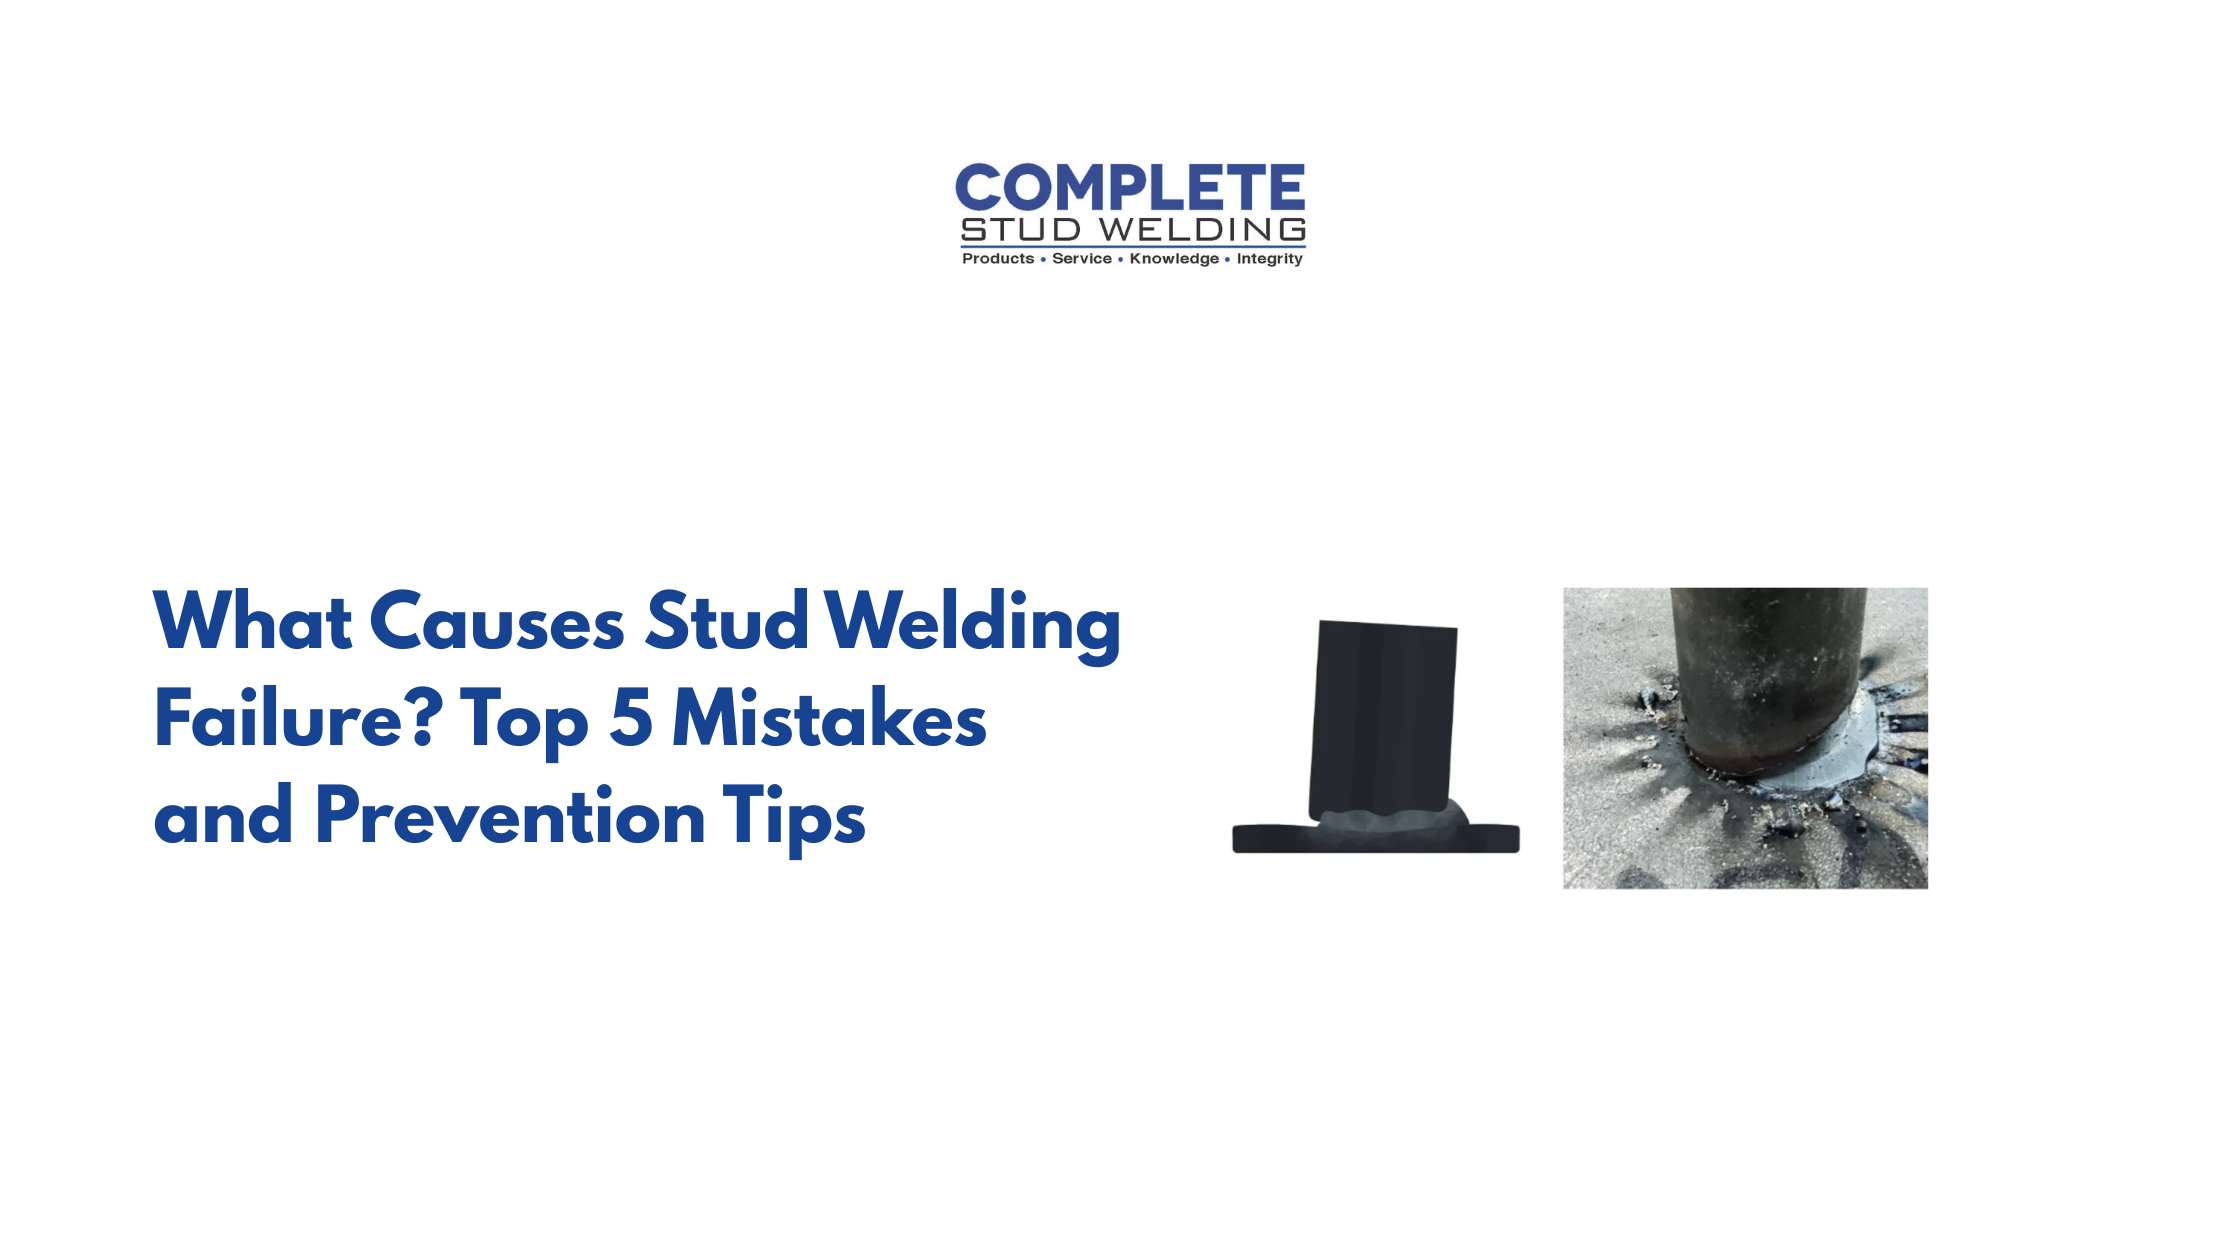
In industrial manufacturing and construction, even a small welding failure can lead to costly rework, production delays, and compromised structural integrity. Many weld problems arise from avoidable setup errors, equipment issues, or poor operating practices.
So, whether you’re working with a stud welding system in a fabrication shop or performing large-scale structural fastening, understanding the causes of welding failure is essential for reducing stud welding defects, improving productivity, and maintaining consistent weld quality.
What Is Stud Welding and Why Does It Fail?
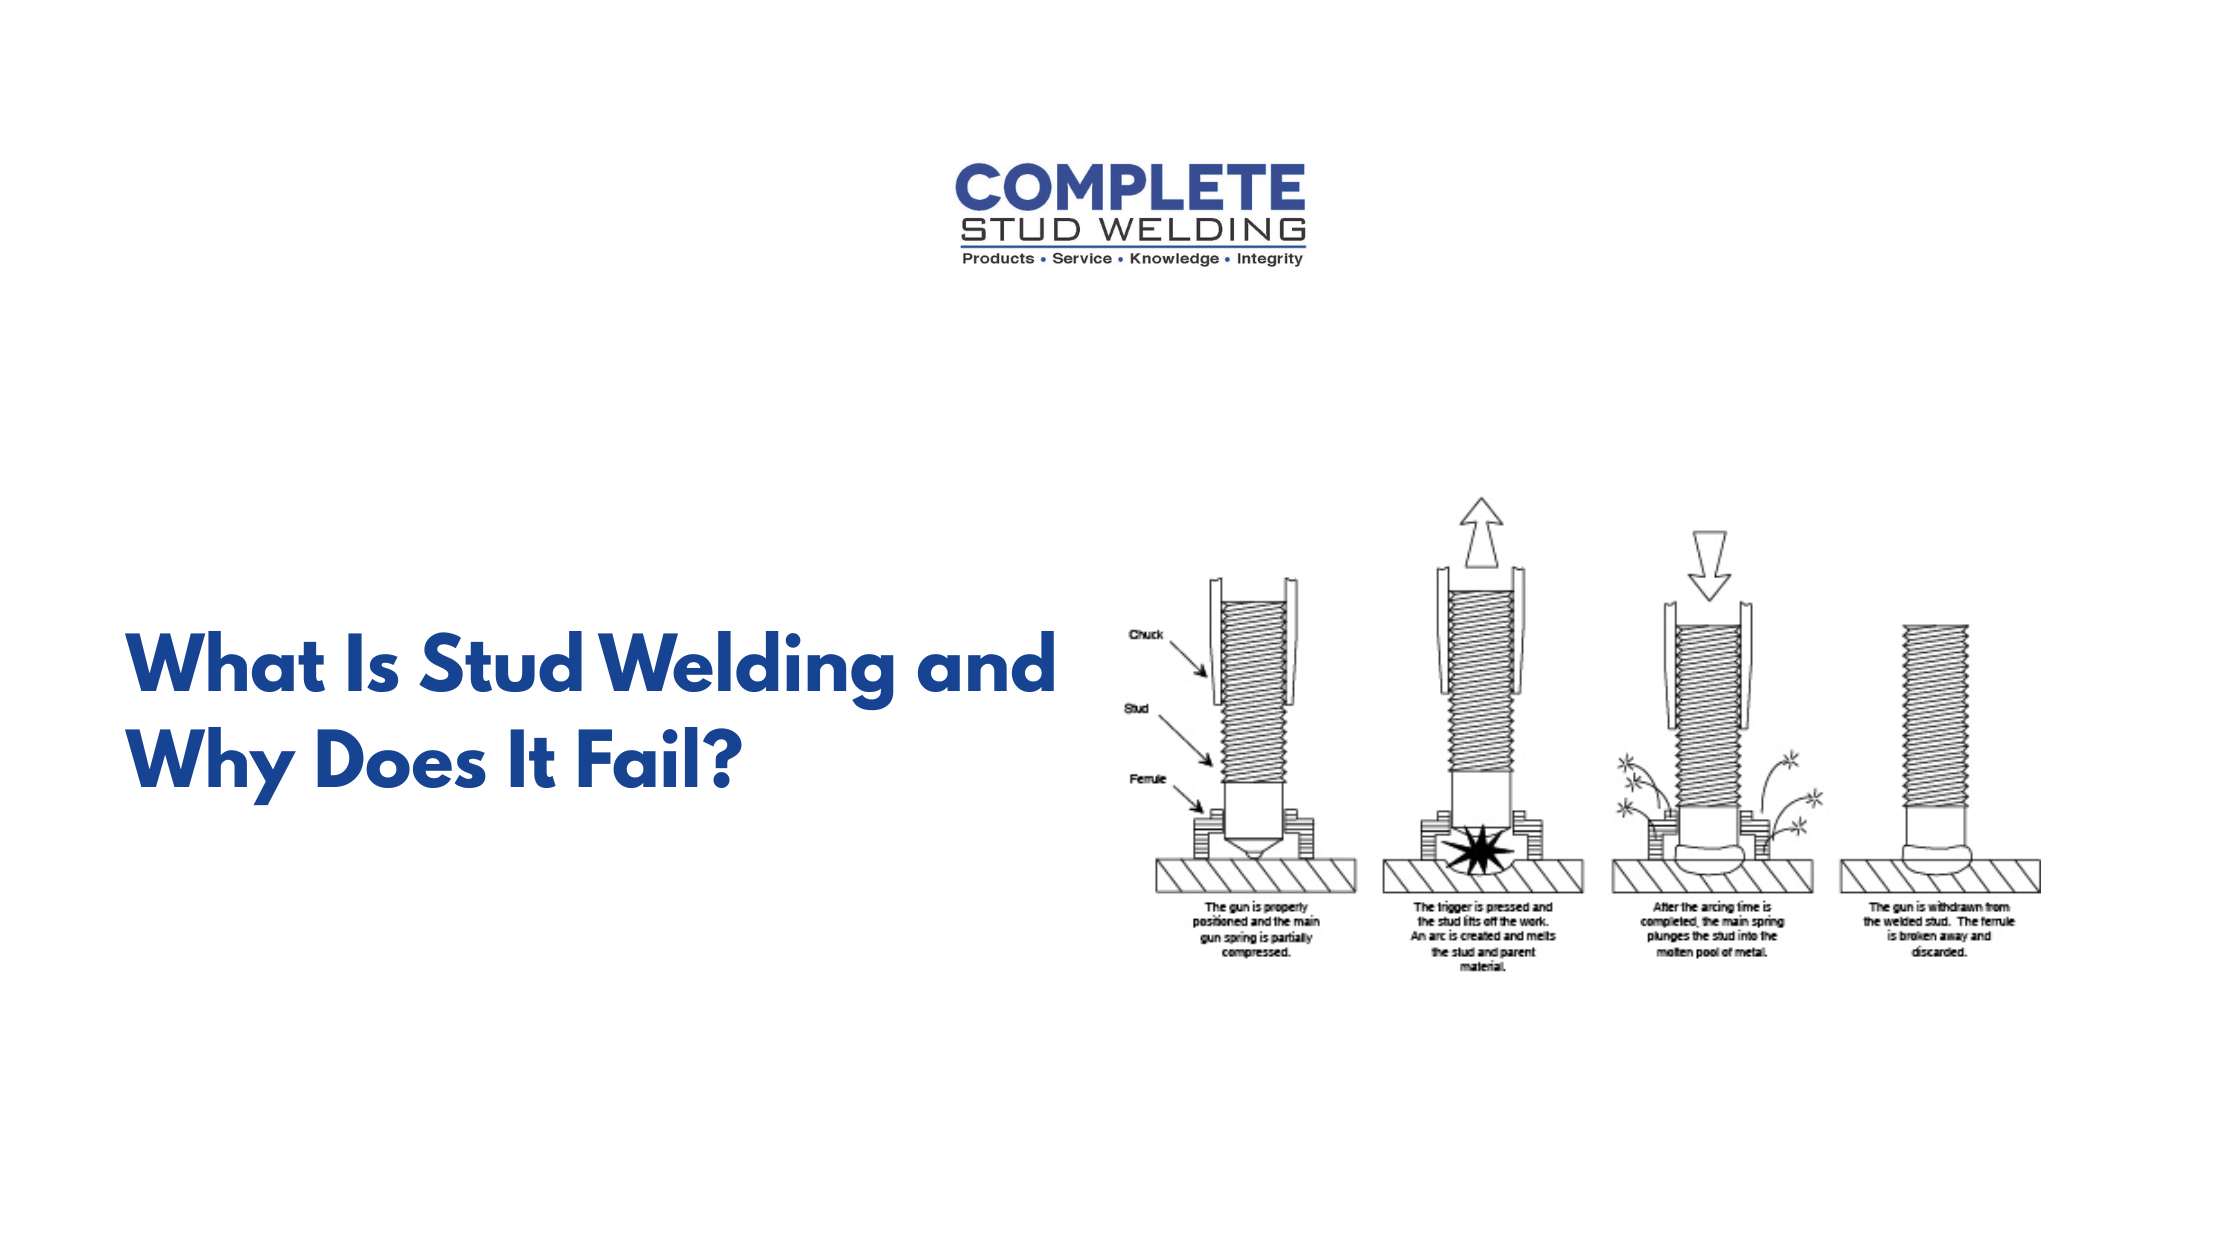
Stud welding is a fastening process that permanently joins a metal stud to a base metal workpiece using heat generated by an electric ARC. The process creates a strong bond without requiring drilling, tapping, or additional hardware. It is fast, clean, and incredibly strong when done correctly.
However, when the process is rushed, poorly set up, or carried out without proper supervision, it can result in welding failure, leading to weak connections, incomplete fusion, or premature joint breakdown. The most common causes of weld failure in stud welding are not equipment malfunctions. They are human and process errors that compound over time when left uncorrected. Understanding the types of welding defects and causes specific to stud welding is the first step toward eliminating them.
How a Stud Welding System Works
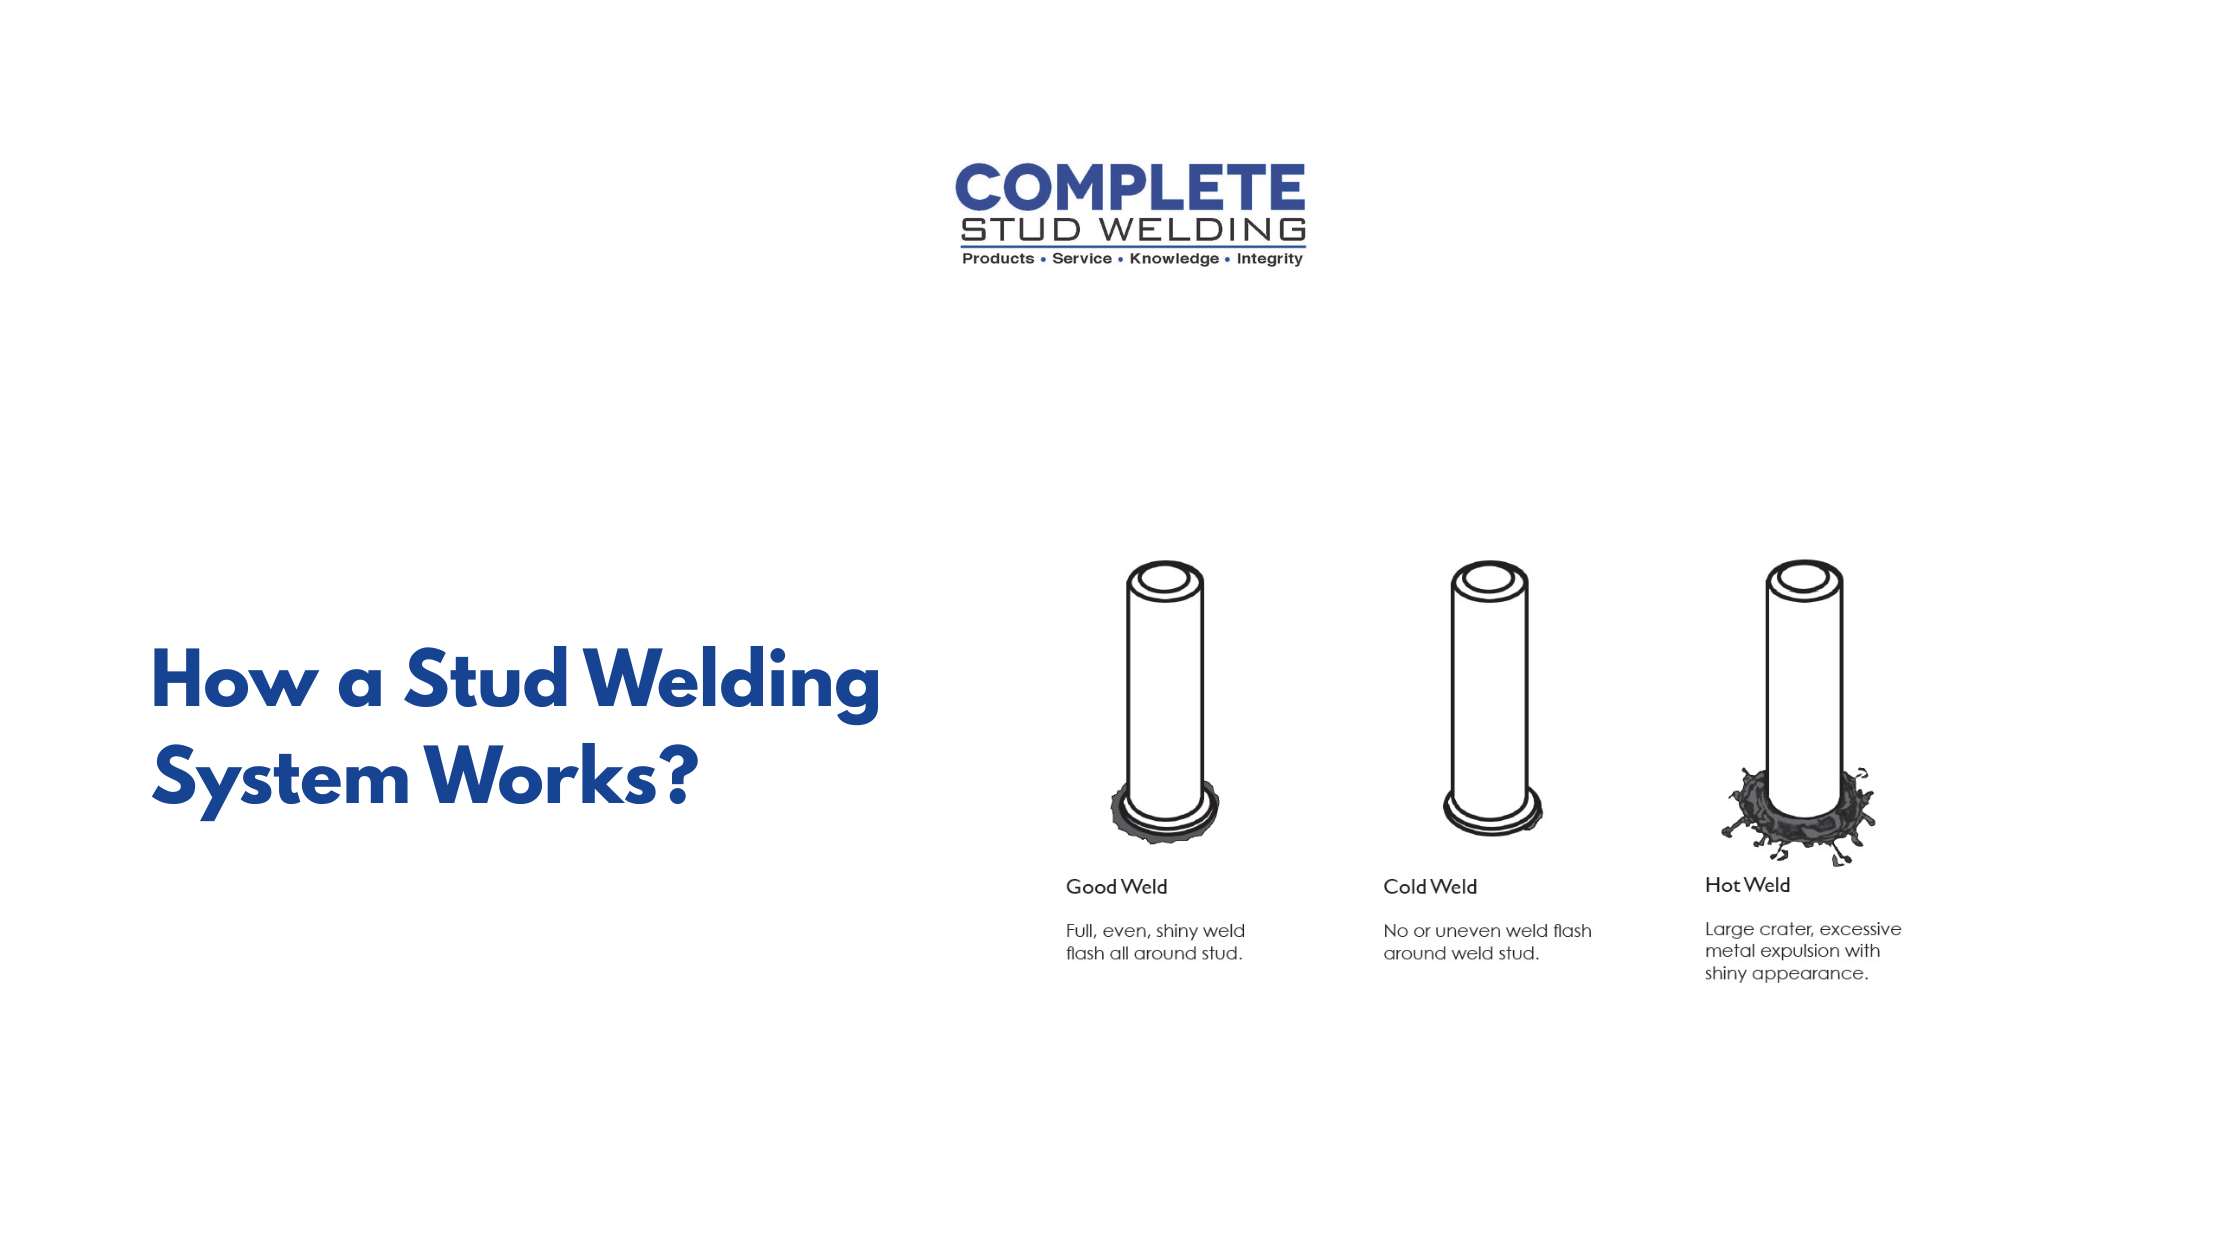
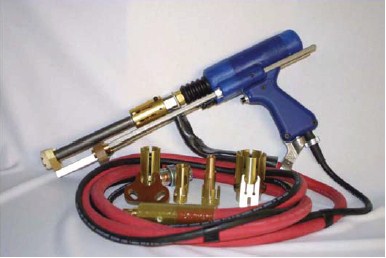
A properly functioning stud welding system uses controlled energy, precise timing, and the right consumables to create a bond that is often stronger than the base material itself. The stud welding machine draws an arc between the stud and the workpiece, melts both surfaces simultaneously, and then drives the stud into the molten pool to create a full-fusion weld. When any part of that sequence is off, welding failure occurs.
5 Top Welding Mistakes that Result in Failure
Mistake #1: Incorrect Stud Welding Machine Settings
One of the leading causes of weld failure is running the wrong parameters on the stud welding machine. Too little current, and the ARC will not generate enough heat to achieve proper fusion. Too much current and you risk burning through the base material or creating brittle welds that crack under load. Every stud size and base material combination requires its own settings, and skipping the setup step is one of the most common ARC welding mistakes in the field.
Prevention tip: Always verify your stud welding machine settings against the manufacturer’s specifications before starting a job. Use test welds on scrap material to confirm the setup is correct before moving to the actual workpiece.
Mistake #2: Poor Surface Preparation
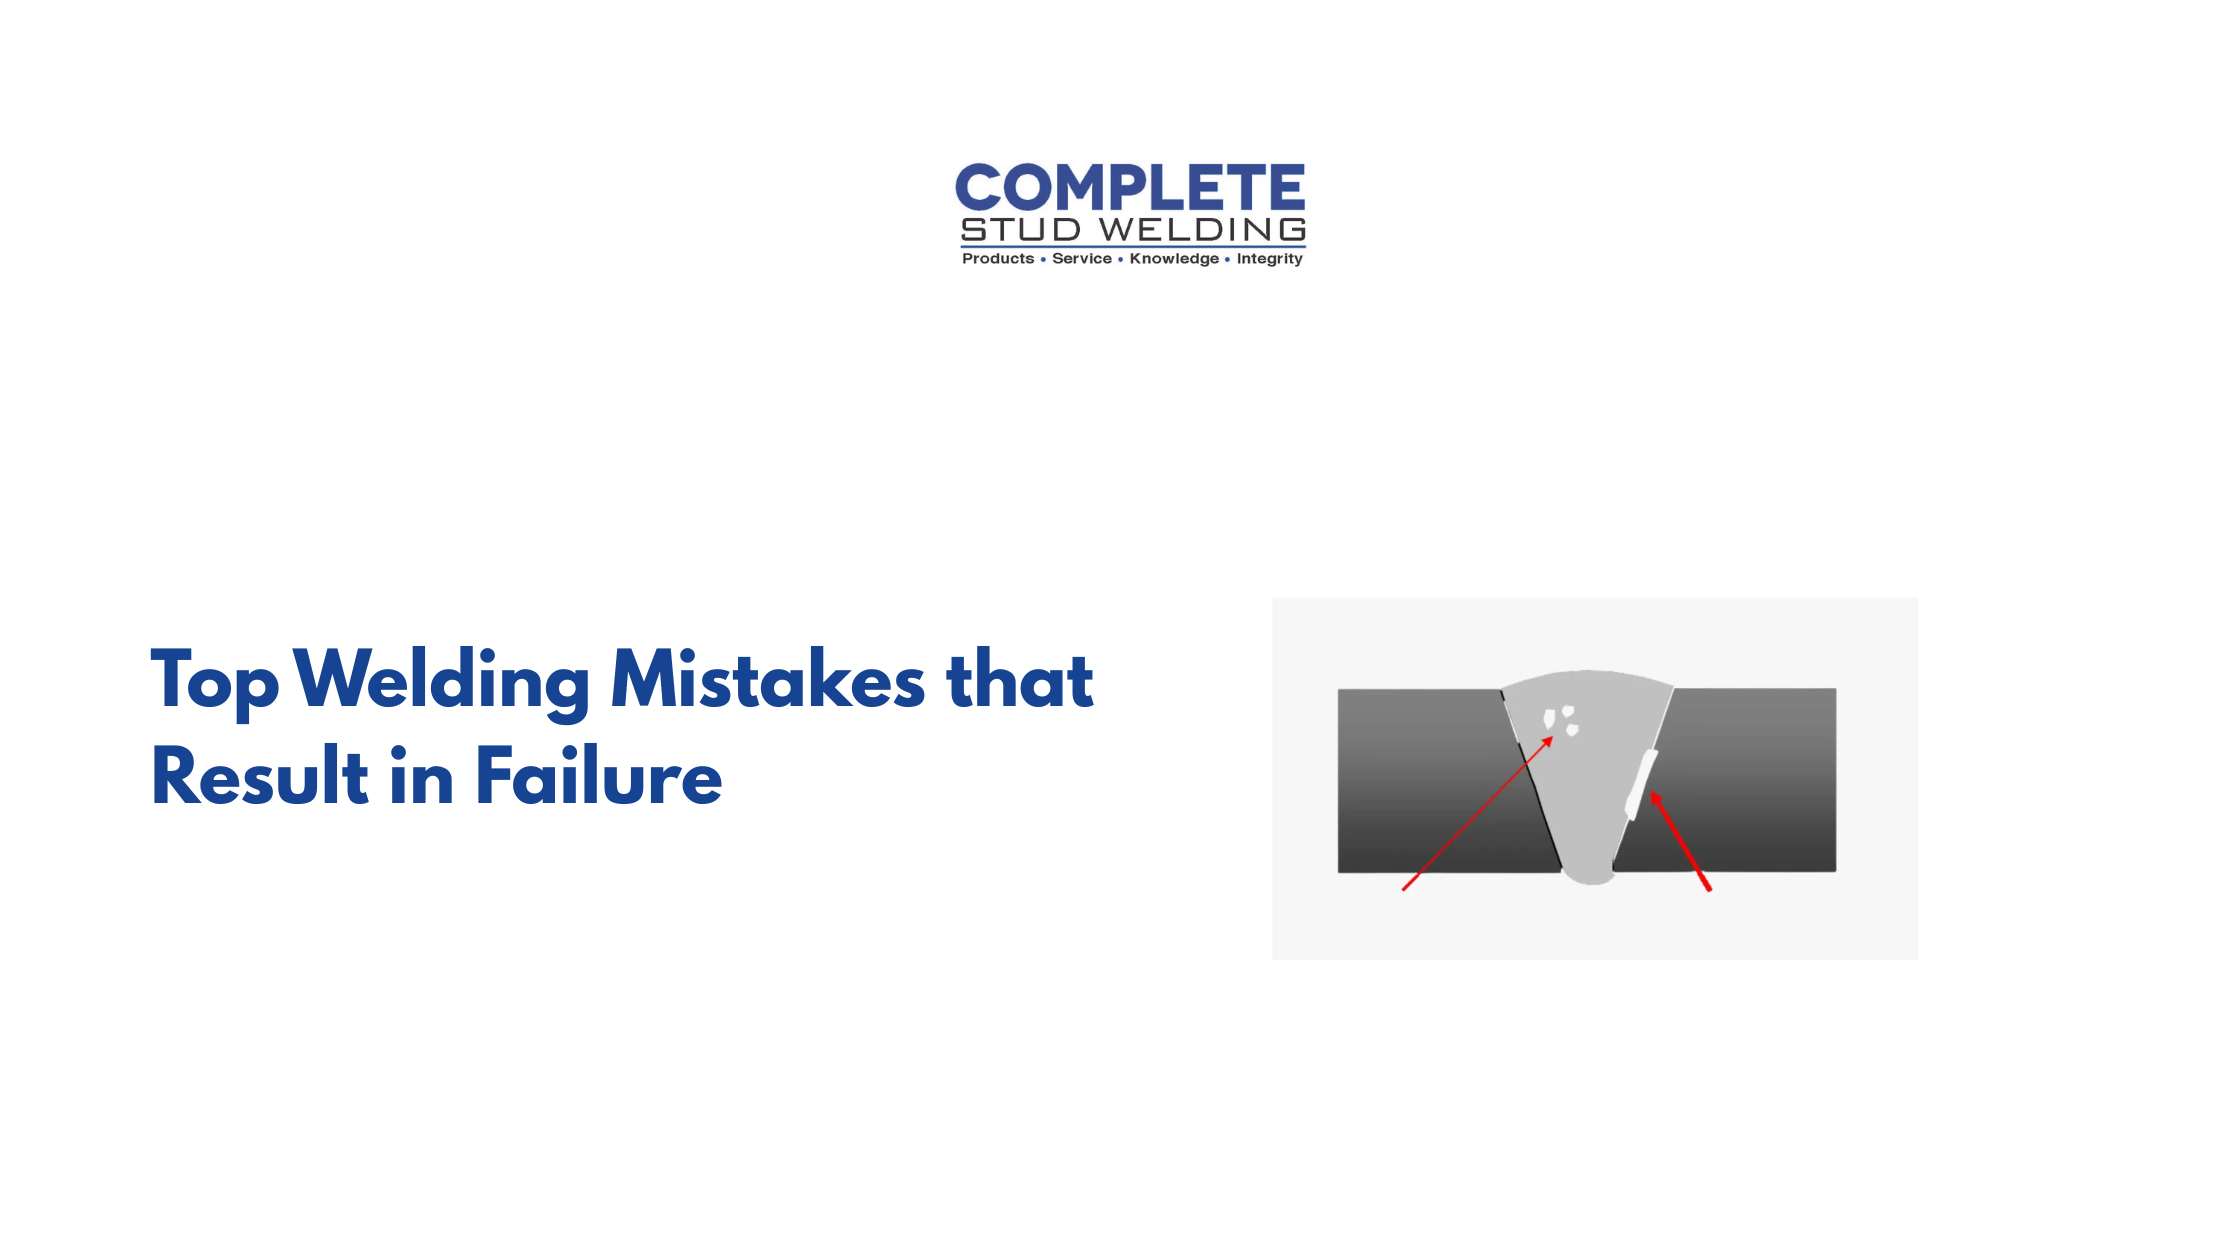
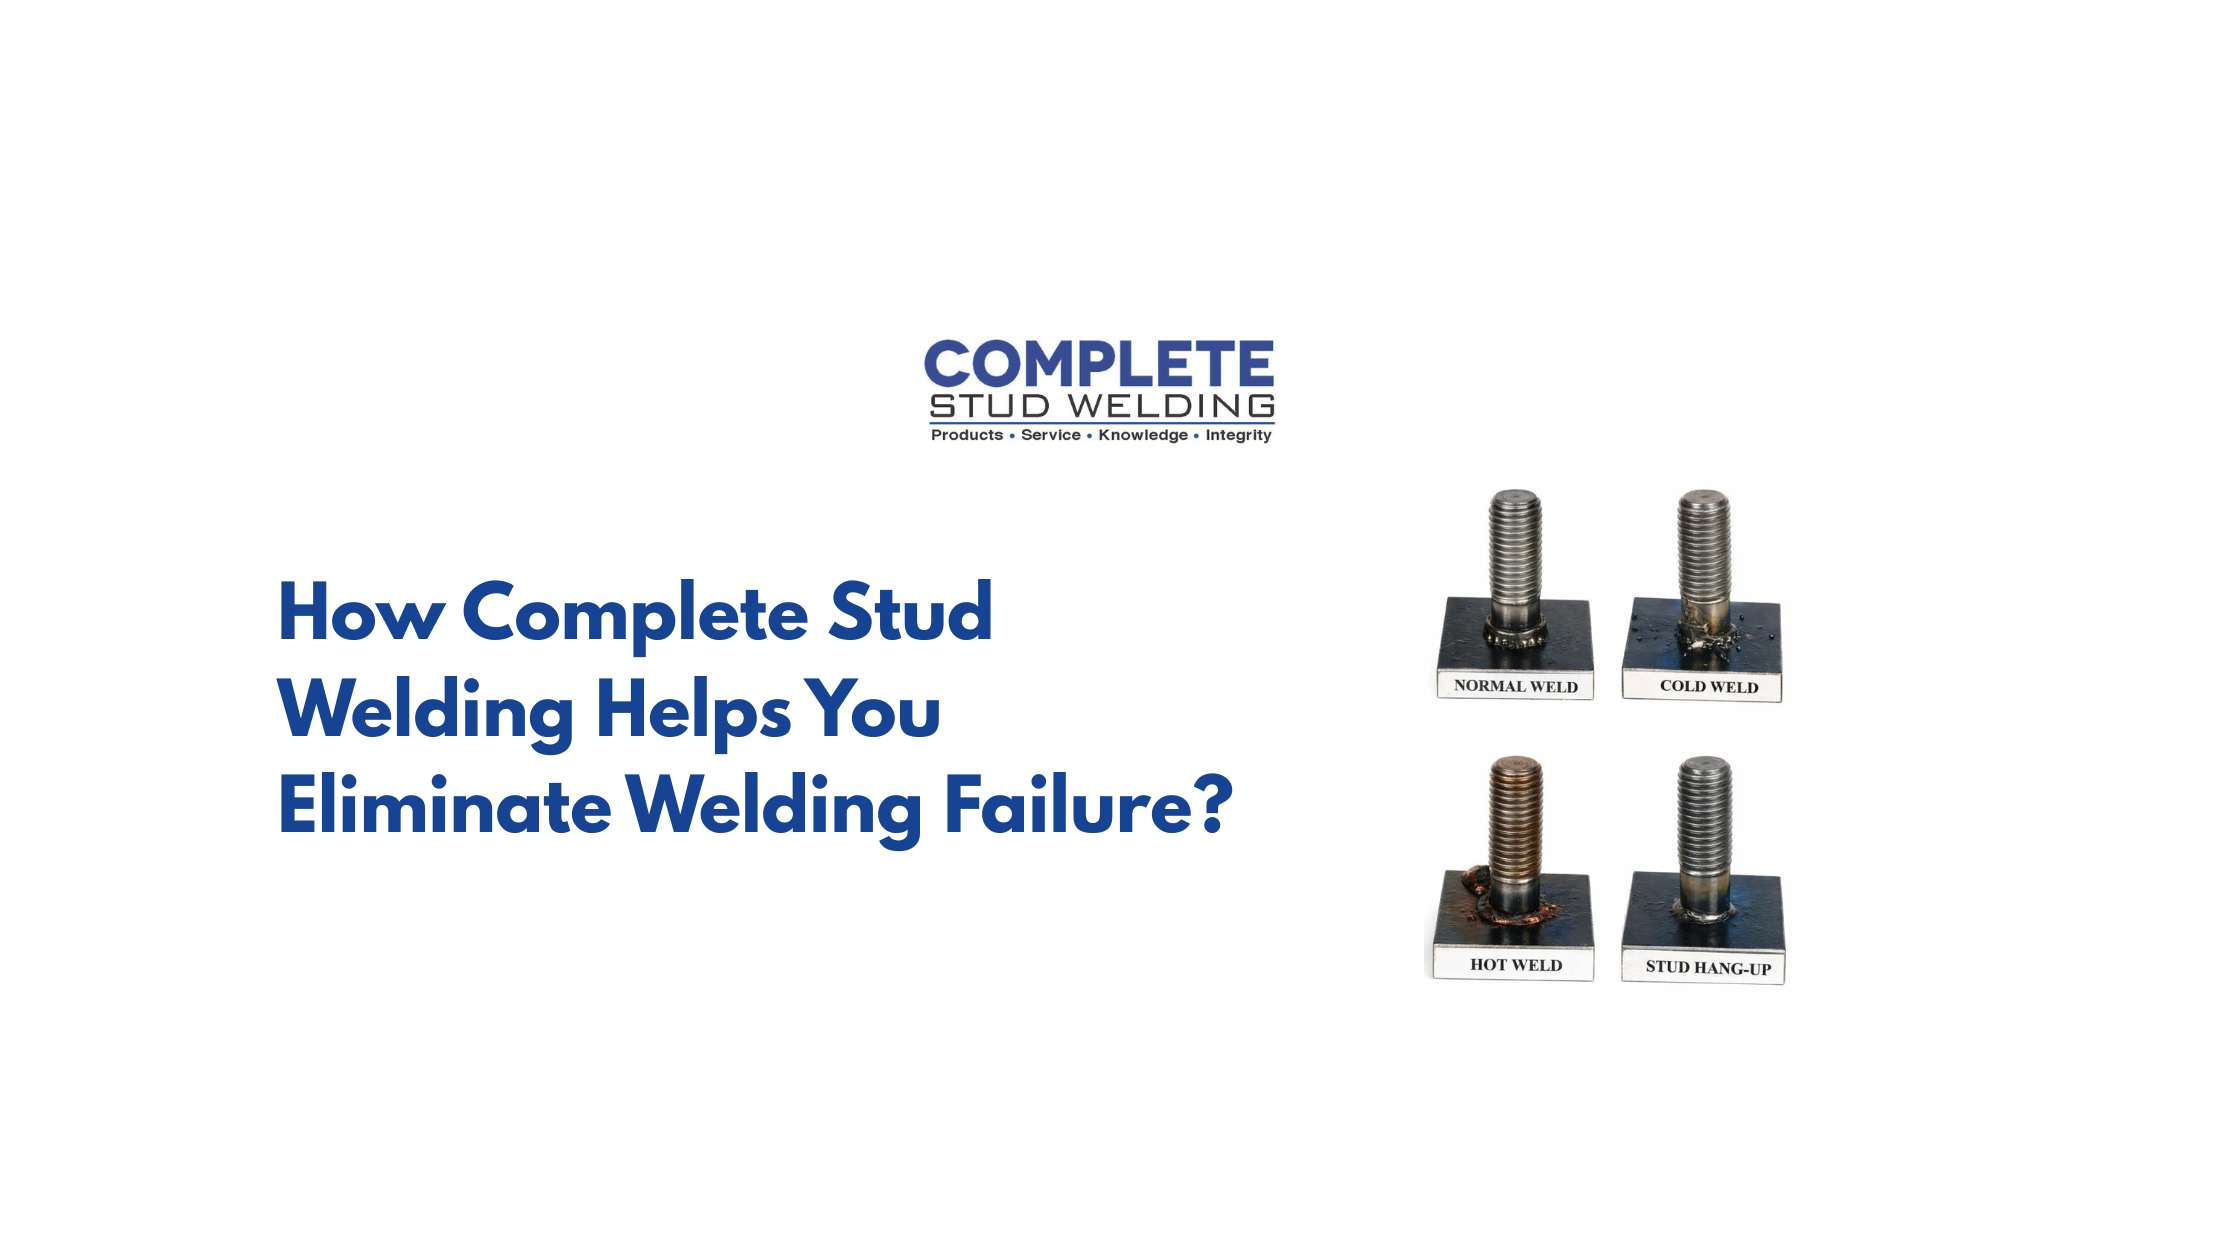
Contaminated or improperly prepared surfaces are behind a significant percentage of stud welding defects. Oil, rust, mill scale, paint, moisture, coatings, and other contaminants can interfere with proper fusion between the stud and base material. Contaminated surfaces often create stud welding defects, such as:
- – Incomplete fusion
- – Porosity
- – Weak bond strength
- – Inconsistent weld formation
These are common weld quality issues that can significantly reduce joint performance. The result is a weld that looks acceptable on the surface but lacks real structural integrity underneath.
Prevention tip: Clean all weld surfaces thoroughly before weld stud installation. Remove coatings, rust, and debris from the base metal. Ensure workpieces remain dry and free of contamination. A clean, bare metal surface gives the ARC the clean contact it needs to create a sound weld. This single step eliminates a wide range of weld quality issues before they ever start.
Mistake #3: Wrong Stud or Chuck Fit
Using the wrong stud for the application or pairing it with an ill-fitting chuck is surprisingly a common cause of welding failure. A loose or worn chuck affects the ARC gap consistency during ARC stud welding, directly impacting fusion quality. Over time, this type of poor welding quality can cause fastener pullout under load — a major liability in structural applications.
Prevention tip: Inspect your chuck regularly as part of routine welding quality control. Replace worn components before they cause problems, and always confirm the stud and chuck pairing is correct for the diameter and material you are working with.
Mistake #4: Improper Gun Angle and Positioning
Weld stud installation requires the welding gun to be held perpendicular to the work surface. Even a small angle deviation during ARC stud welding creates an uneven arc, uneven melt, and a weld that is only partially fused on one side. This is one of the most visually misleading stud welding defects because the weld can look complete while being structurally compromised.
Prevention tip: Operators should use a template or guide wherever possible to maintain consistent gun positioning across a job. This is especially important on large-scale projects where fatigue and repetition can introduce drift in technique.
Mistake #5: Inadequate Inspection and Maintenance
Many companies focus heavily on production speed while neglecting ongoing stud welding inspection and maintenance programs. Unfortunately, this approach often results in poor welding quality and unexpected downtime. Routine inspections can identify:
- – Equipment wear
- – Parameter drift
- – Electrical issues
- – Developing weld defects
Without a proper stud welding inspection process, defective welds go undetected until they fail in service. A proper welding troubleshooting guide starts with inspection, not with repairs after the fact.
Prevention tip: Implement a stud welding inspection protocol for every project. Torque testing, visual checks, and bend testing are all quick and reliable ways to catch weld quality issues before they leave your facility or jobsite. Strong welding quality control is not an extra step. It is what separates professional results from recurring rework.
Welding Troubleshooting Guide for Your Operation
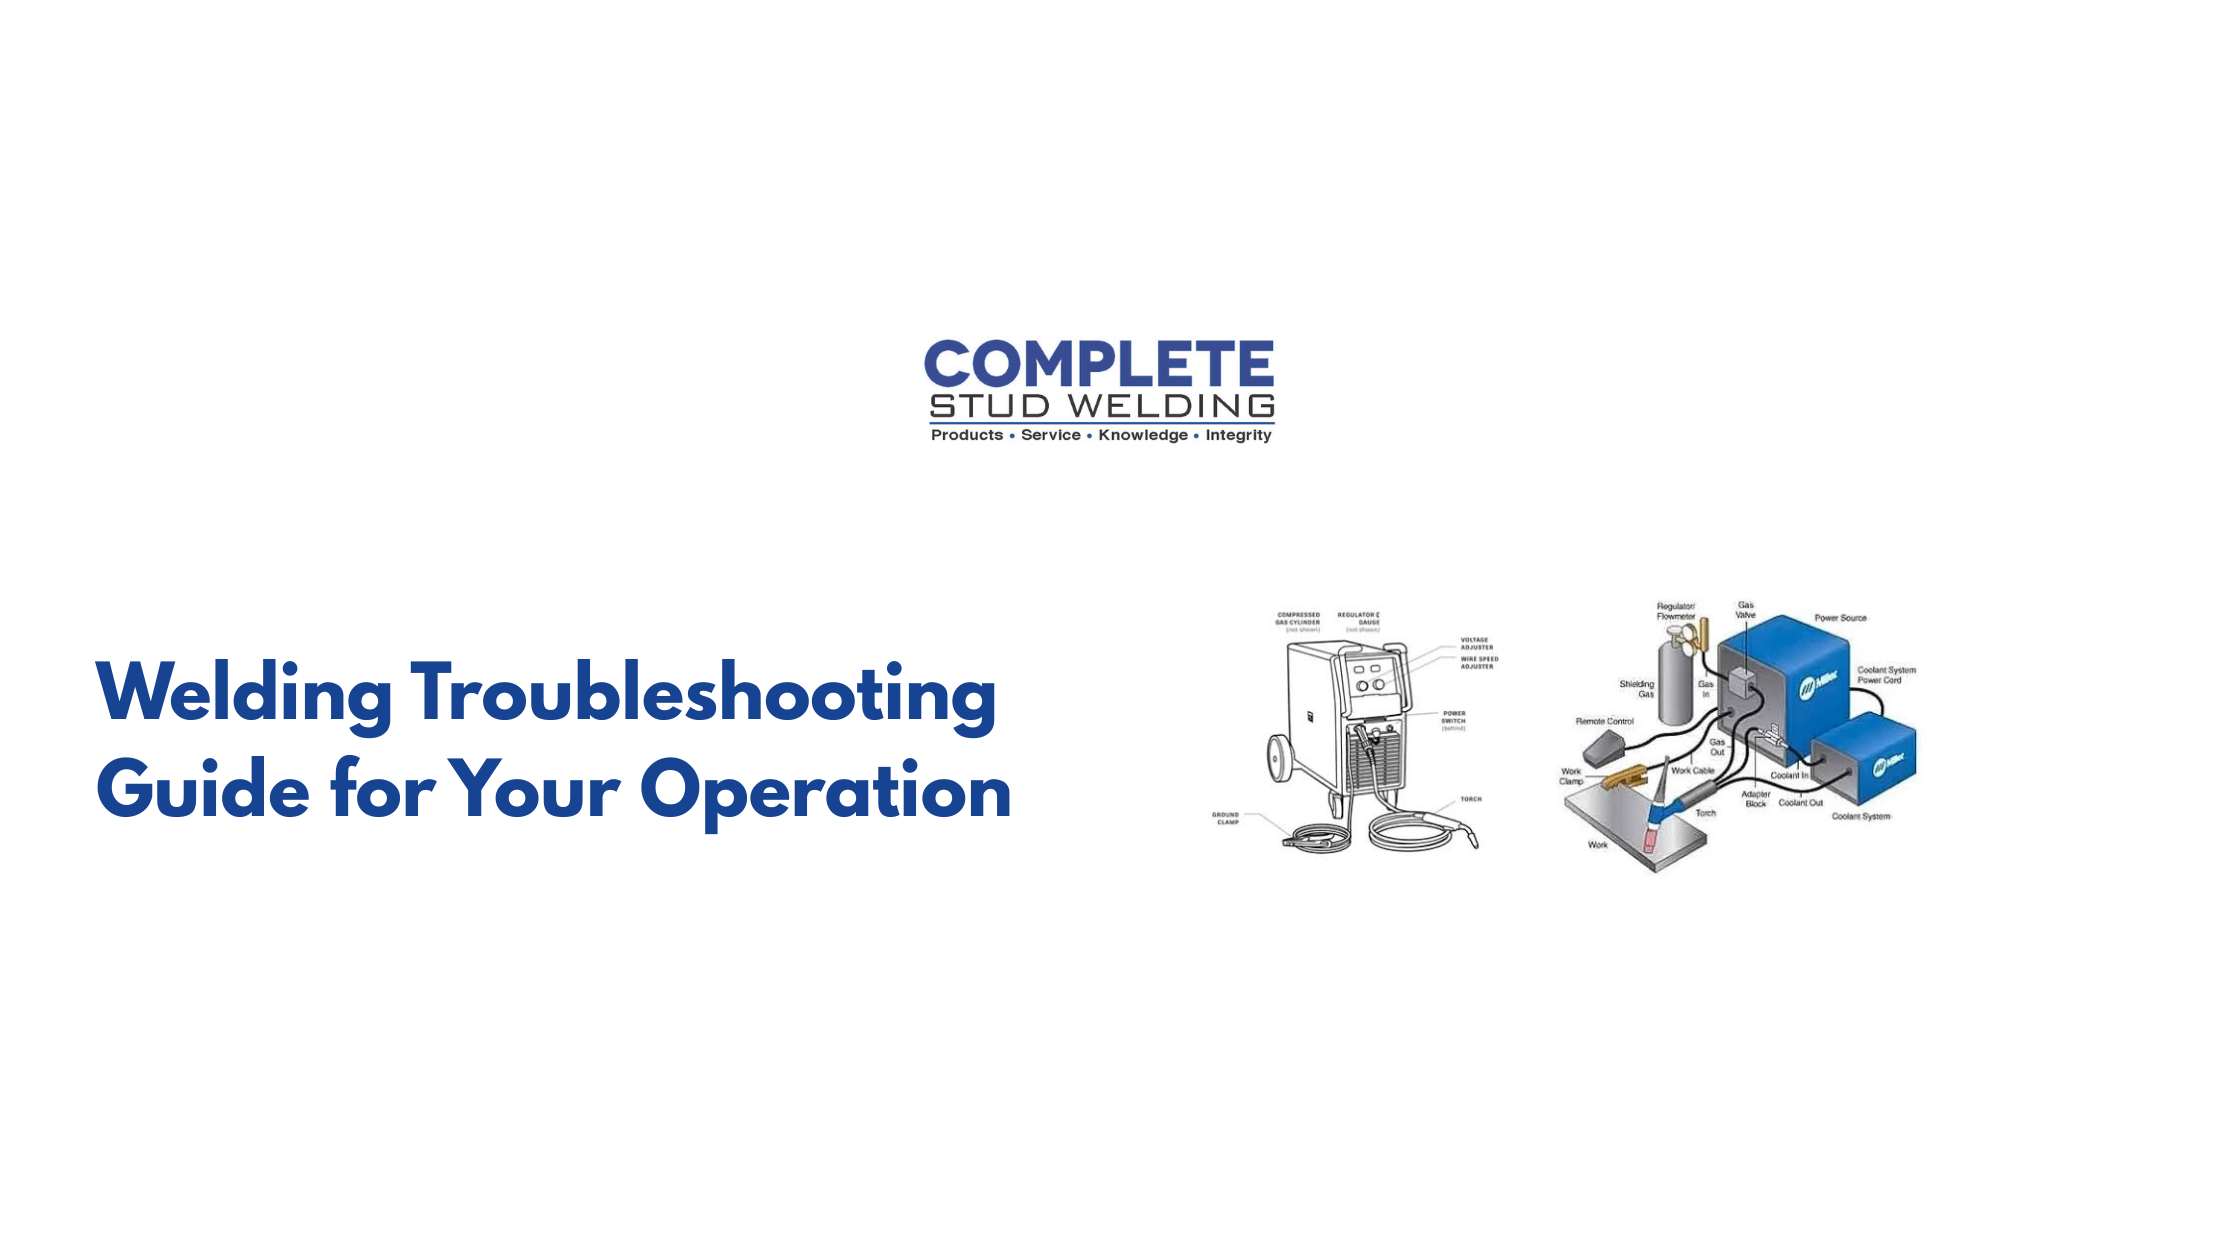
If your team is experiencing repeated welding failure, the answer is rarely just one thing. Most stud welding troubleshooting situations involve a combination of factors that have been building over time. A practical welding troubleshooting guide for your operation should cover equipment calibration schedules, surface prep standards, approved consumable lists, operator training benchmarks, and a clear stud welding inspection sign-off process.
When those pieces are in place, the types of welding defects and causes that show up on your jobs drop dramatically. The goal of any solid welding quality control program is to get ahead of problems systematically rather than reacting to them job by job.
How Complete Stud Welding Helps You Eliminate Welding Failure
At Complete Stud Welding, we have built our reputation on delivering consistent, high-quality results across some of the most demanding applications in the industry. We provide top-notch equipment, technical expertise, and support to help manufacturers achieve superior welding performance. Our team understands that welding failure is not just a technical problem. It is a business problem, and we treat it that way.
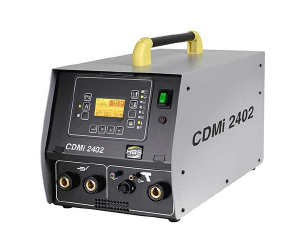
Whether you need a dependable stud welding machine, a complete stud welding system, or guidance on improving your welding operations, our team is ready to help.
From supplying the right stud welding system and stud welding machine for your specific application to providing hands-on technical support, Complete Stud Welding is here to make sure your team has everything needed to weld right the first time.
Summing Up
Understanding the most common causes of welding failure is essential for maintaining strong, reliable welds and efficient production operations. Implement these best practices to ensure consistent weld quality, improved safety, and long-term performance in every stud welding application.
For expert assistance, call Complete Stud Welding at 216-904-4008 or visit completestudweld.com. Speak with our professionals and get the support your team needs.
Comments are closed.